Apple M2 Clonezilla 備份還原成功
經過了2個月的努力,陸續解決所有的雷,APPLE M1 MINI for Clonezilla Live boot test -> Asahi linux image and clonezilla live -> Apple silicon APFS 備份問題 之後,首次備份+還原成功。
作法概述
抓 clonezilla live arm
找一台Linux進行操做
到這邊去找新版 ARM zip
https://free.nchc.org.tw/clonezilla-live/experimental/arm/
以我為例,我使用 https://free.nchc.org.tw/clonezilla-live/experimental/arm/3.2.1-9/clonezilla-live-3.2.1-9-arm64.zip 這個。
抓下來之後要換 Asahi Linux 可以參考 Asahi linux image and clonezilla live,clonezilla 升級到 5.8.20 已經不用 patch,所以可以直接
apt-get install clonezilla // 需要確認版本 5.8.20 以上
ocs-live-swap-kernel clonezilla-live-3.2.1-9-arm64.zip linux-image-6.5.0-asahi-00780-g62806c2c6f29_6.5.0-00780-g62806c2c6f29-1_arm64.deb
裝 uefi boot on apple mini m2
在 MAC MINI 上執行
curl https://alx.sh | sh只安裝 UEFI environment only (m1n1 + U-Boot + ESP)
參考 APPLE M1 MINI for Clonezilla Live boot test
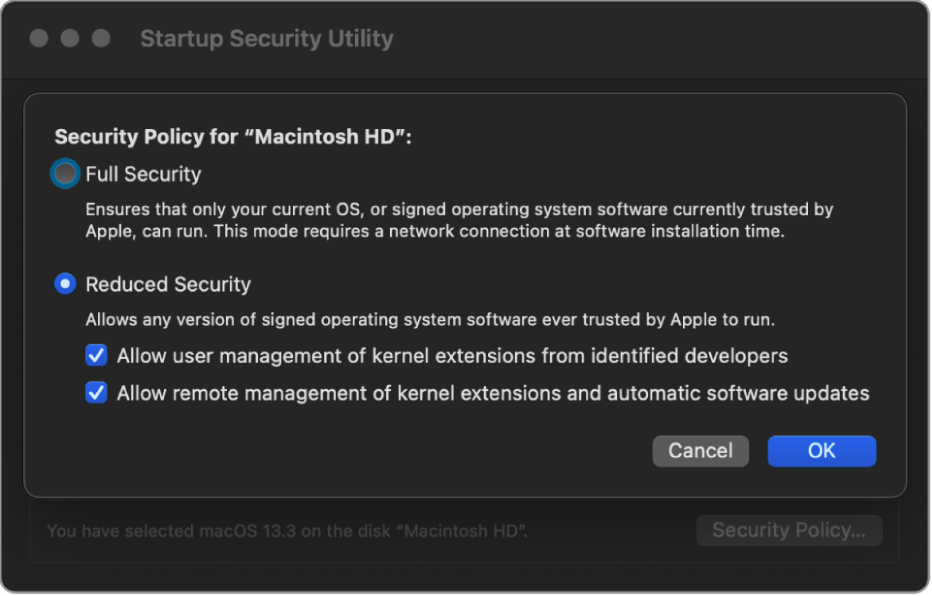
解除保護
重開機並設定 Reduce Security
Clonezilla Live 開機
重開機由維護模式選 uboot 開機
當進入 shell 互動模式輸入:// 也可以自動
env set boot_efi_bootmgr
run bootcmd_usb0
就可以順利進入 Clonezilla Live 選單
參考 APPLE M1 MINI for Clonezilla Live boot test
備份
透過 Clonezilla Live 備份 Disks
有辨識到三顆硬碟,主要是第一顆,其他的沒有備份。
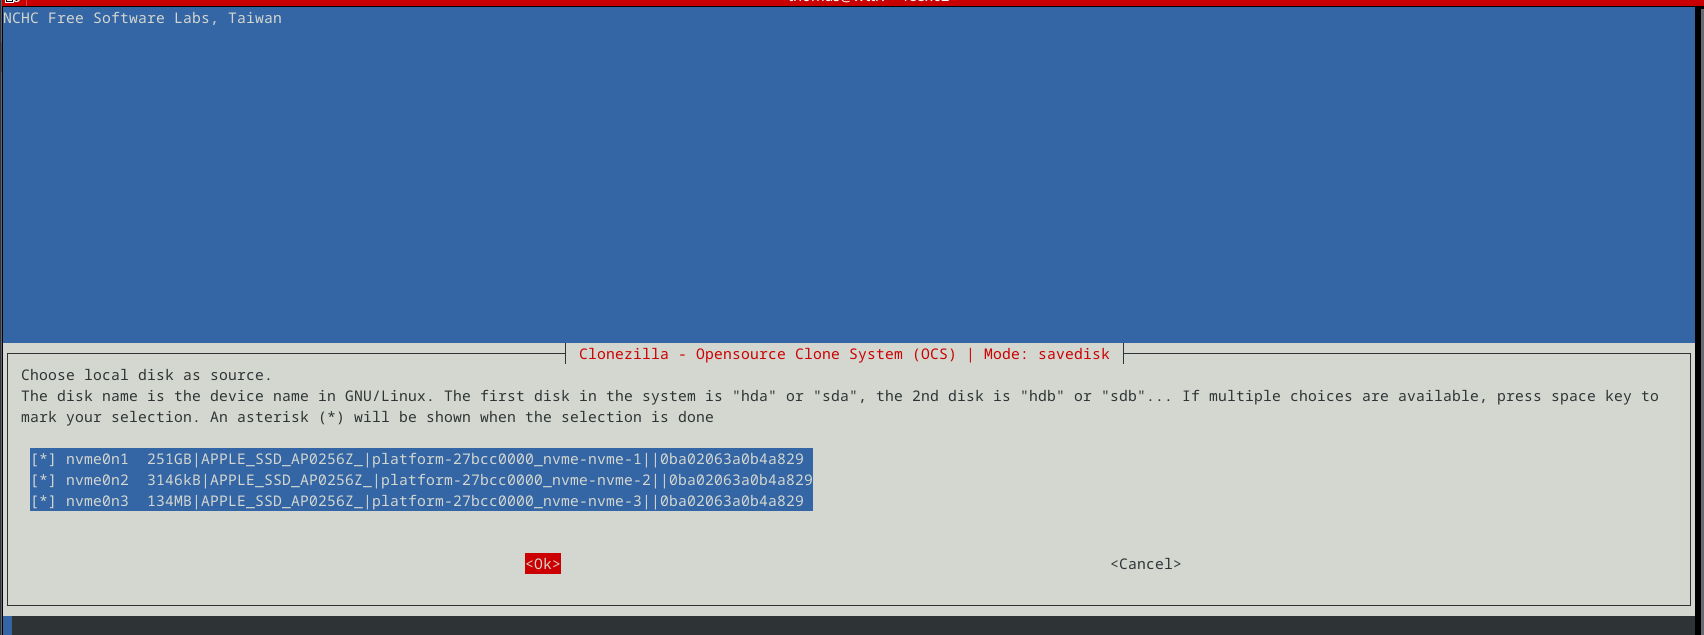
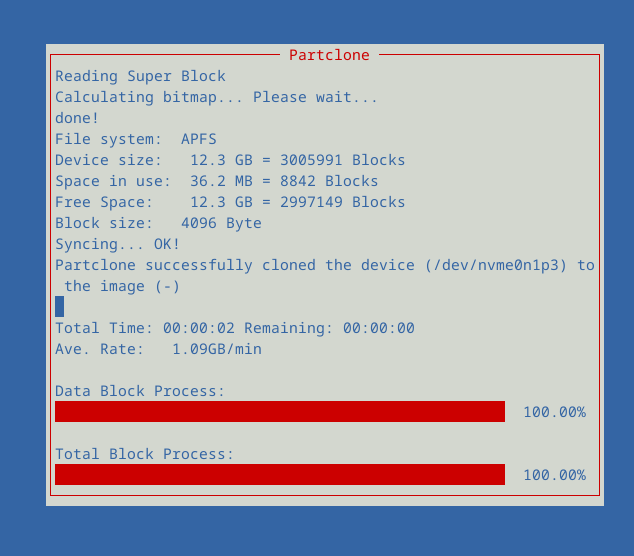
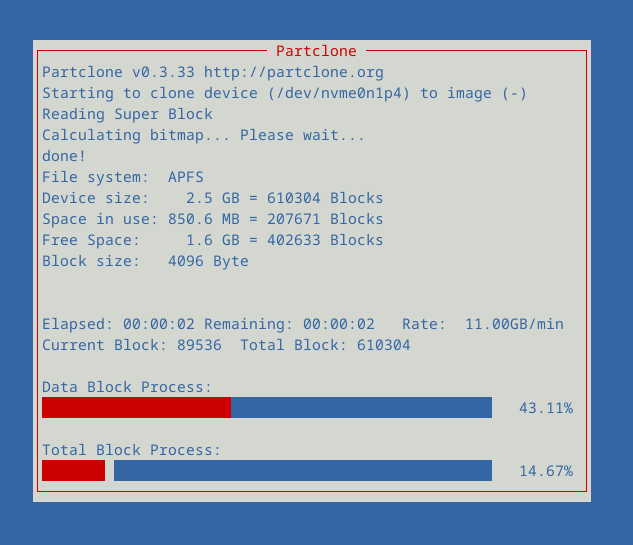
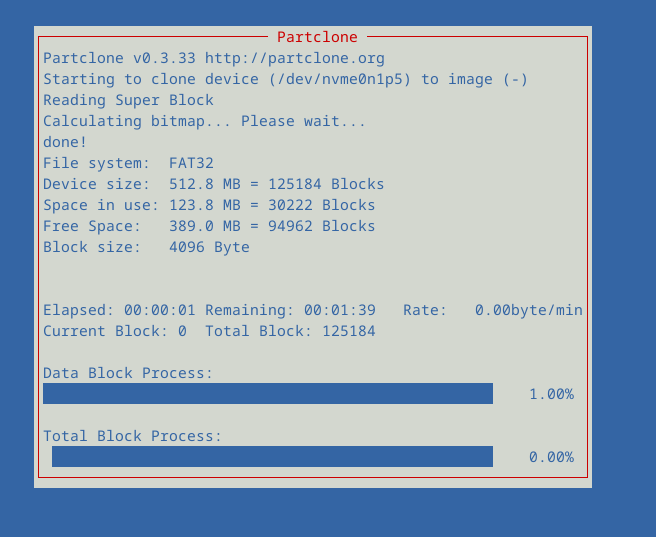
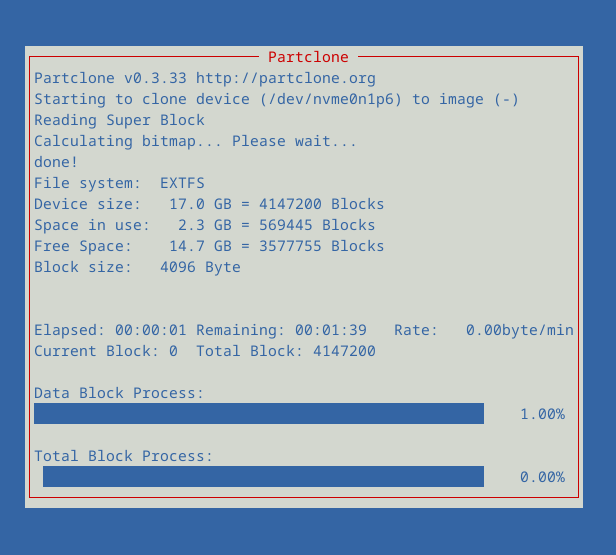
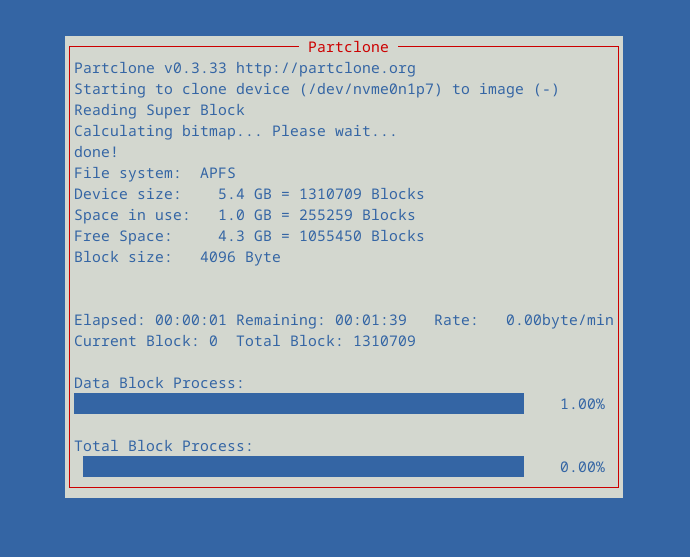
自動偵測到 partitions ; 就會備份這些

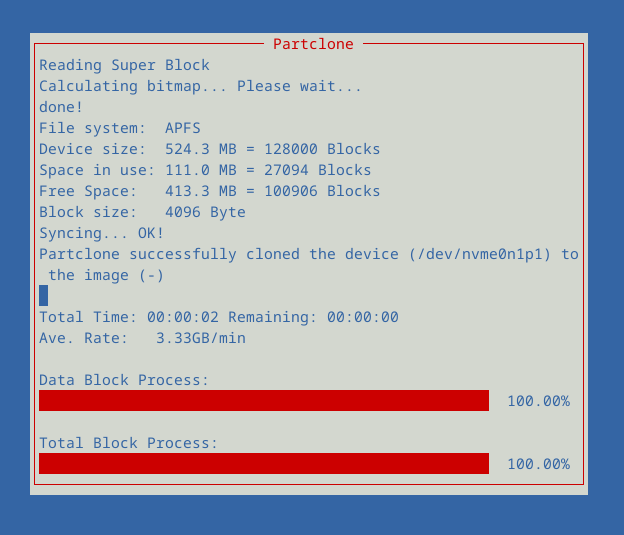
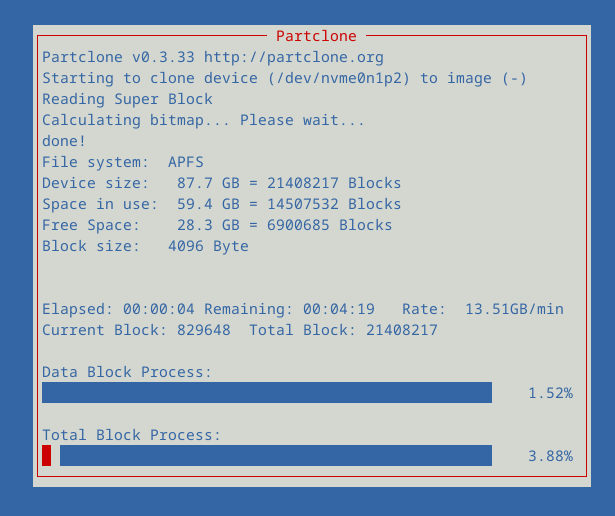
摧毀
這邊我就沒有截圖
大致上我是
dd if=/dev/zero of=/dev/nvme0n1 bs=1M count=20480再以 blkid 確認資料都不見了!這時候先萬保佑不要當機重開,會變磚塊。
還原
馬上用 clonezilla live 選單選還原 disk ,跑完之後可以正常開進 MAC-OS。
注意事項
我們以玩樂的心情進行開發。如果你有要嘗試,我們很歡迎但是
!!!建議先自己有備份!!!這是研究性質!!!
如果萬一變磚塊,你可以用 Apple configurator 以 DFU 重新刷回去,但是資料就都沒了。